
If you’re tired of the old, chipped paint on your kitchen cabinets Or maybe you’re bored with the old cabinet paint and want to desperately change its appearance. You’re at the right place, Removing paint from kitchen cabinets might seem like a tough task, but don’t worry! In this step-by-step guide, we’ll walk you through the process of stripping away layers of paint to reveal the beauty of your cabinets underneath.
Say bye to that unwanted pesky paint and hi to a refreshed, revitalized kitchen space. Let’s start learning how to remove paint from your kitchen cabinets and transform it into the center of attraction of your house.
Assessing the Situation Before Removing Paint From Your Kitchen Cabinets
Determining The Paint Type:
Before you start removing paint, you need to figure out what kind of paint is on your cabinets. This is important because different paints need different methods to remove them. You can do a quick test by using rubbing alcohol also known as Isopropyl Alcohol. Dip a cotton ball or cloth in it and gently rub it on a hidden spot of the painted area. If the paint comes off on the cotton ball, it’s probably water-based paint. If it stays put, it’s likely oil-based paint. Knowing the type of paint will help you choose the right way to remove it and make your cabinet project go smoothly
Get Ready With Your Supplies:
Preparing your supplies is an important step before starting any paint removal project for your kitchen cabinets. Having the right tools and materials on hand will make the process smooth and more efficient. Here’s a list of essential supplies you may require during the process.
- Paint Remover: Depending on the chosen method, gather the appropriate paint remover or stripping solution. Make sure to check if it’s suitable for the type of paint on your cabinets.
- Safety Gear: Don’t forget safety gear such as gloves, safety goggles, and a mask or respirator to protect yourself from fumes and particles.
- Drop Cloths or Plastic Sheets: Cover surrounding surfaces and the floor to prevent paint splatters and debris from causing damage.
- Paint Scrapers and Sandpaper: Have these tools in hand for physically removing paint or smoothing surfaces.
- Heat Gun or Sanding Equipment: If you’re using a heat gun or sanding method, make sure you have the necessary equipment.
- Paint Brushes and Rollers: You may need these for applying paint remover or for touch-ups after paint removal.
- Containers: Have containers for collecting and disposing of removed paint and used paint remover.
- Clean Rags or Paper Towels: These are handy for wiping down surfaces and cleaning up spills.
- Safety First-Aid Kit: Keep a basic first-aid kit nearby in case of minor accidents.
- Trash Bags: Use these for disposal and cleanup.
Preparing Your Work Area
Ventilation Is Key:
Ventilation plays a key role in the paint removal process for kitchen cabinets. When you’re working with paint removers or solvents, proper ventilation ensures that harmful fumes and odors are dispersed safely. Adequate airflow also helps in speeding up the drying process after cleaning or stripping the cabinets. So, before you begin, make sure your kitchen area is well-ventilated by opening windows and doors or using exhaust fans if available. This not only makes the task more comfortable but also contributes to a safer and more efficient cabinet restoration project.
Protecting The Surrounding Surface:
Protecting surrounding surfaces is important during the cabinet paint removal process. Stripping or sanding paint can create dust, debris, and potential splatters of paint remover that can harm nearby objects, floors, and appliances. To prevent any accidental damage, cover these surfaces with drop cloths or plastic sheets. Also, consider removing any items or hardware near the cabinets that could be in the way during the process. Taking these precautions ensures that your kitchen remains clean and free from damage, and makes the cabinet paint removal process smoother and less stressful.
Methods To Remove Paint From Kitchen Cabinets
Different paint removal processes are available, each suitable for various situations and types of paint. The choice of method depends on the condition of your kitchen cabinets and your preferences.
- Chemical Paint Strippers: These are liquids or gels that you apply to the paint, allowing it to soften and bubble up for easy removal. They work well for multiple layers of paint or stubborn finishes.
- Sanding: Sandpaper can be used to manually remove paint by rubbing it off the surface. It’s effective for small areas or when dealing with minor paint issues.
- Heat Gun: A heat gun emits hot air to soften the paint, making it easier to scrape away. This method is suitable for thick layers of paint and intricate details.
- Paint Scrapers: These tools help in physically scraping off the softened or loosened paint layers. They are often used in combination with other removal methods.
- Abrasive Blasting: In some cases, abrasive materials, like baking soda or sand, are blasted onto the surface to remove paint. This method is best left to professionals due to its complexity.
- Ultrasonic Paint Removal: An advanced technique that uses high-frequency vibrations to gently remove paint, ideal for delicate surfaces.
Chemical Paint Strippers to Remove Paint From Your Kitchen Cabinets:
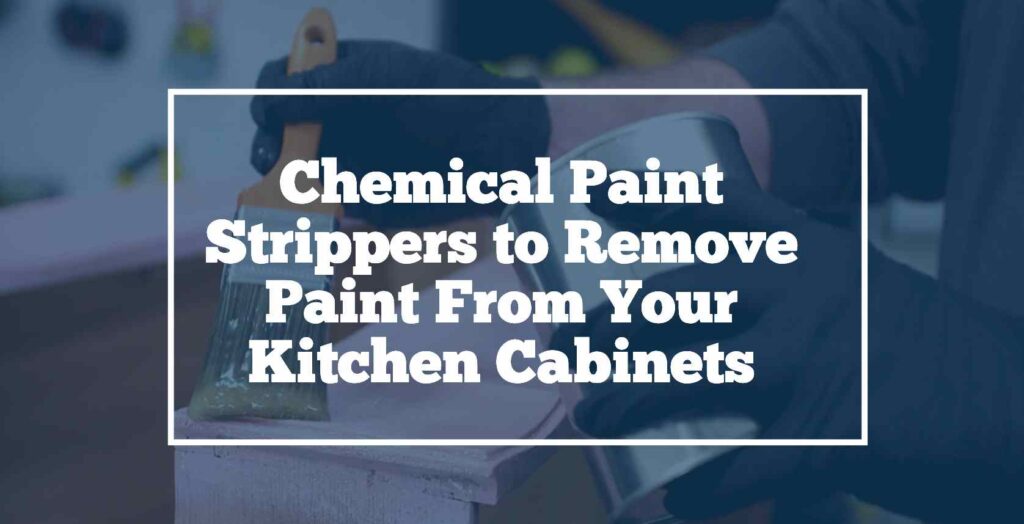
Step 1: Gather Your Supplies
Before you begin, make sure you have all the necessary supplies, including the chemical paint stripper, safety gear (gloves, safety goggles, and a mask), ventilation (open windows or use exhaust fans), drop cloths or plastic sheets to protect surrounding surfaces, paint brushes or scrapers, containers for paint and waste disposal, clean rags or paper towels, and a first-aid kit.
Step 2: Prepare the Area
Clear the area around your kitchen cabinets, removing any items that might get in the way. Cover the floor and nearby surfaces with drop cloths or plastic sheets to catch drips and splatters.
Step 3: Put on Safety Gear
Safety is most important. Wear gloves to protect your hands, safety goggles to shield your eyes, and a mask or respirator to guard against fumes.
Step 4: Apply the Paint Stripper
Following the manufacturer’s instructions on the paint stripper container, brush or spread the paint stripper evenly over the painted surface. Ensure you work in a well-ventilated area to disperse fumes.
Step 5: Wait for the Paint to Bubble
Allow the paint stripper to sit for the recommended time specified on the product label. This usually takes around 15-30 minutes, but it can vary depending on the brand and the type of paint you’re removing. During this time, the paint will start to bubble or blister as it loosens.
Step 6: Scrape Off the Paint
Once the paint has bubbled and softened, use a paint scraper to gently remove it. Work in small sections, being careful not to gouge or damage the wood underneath. Collect the removed paint in a container.
Step 7: Repeat if Necessary
For stubborn or multiple layers of paint, you may need to repeat the stripping process. Simply reapply the paint stripper to the affected areas, wait, and scrape again.
Step 8: Clean and Neutralize
After all the paint is removed, clean the cabinet surfaces thoroughly with clean rags or paper towels and an appropriate solvent (often recommended on the paint stripper label) to neutralize any remaining residue.
Step 9: Dispose of Waste Properly
Dispose of the collected paint and used paint stripper according to your local regulations, typically at a hazardous waste disposal facility.
Step 10: Final Cleaning and Touch-ups
Once the cabinets are clean and free of paint, give them a final wipe-down to remove any remaining residue. You can also sand the surface lightly if needed for a smoother finish. Now, your cabinets are ready for any desired refinishing, such as staining or repainting.
Sanding to Remove Paint From Your Kitchen Cabinets:
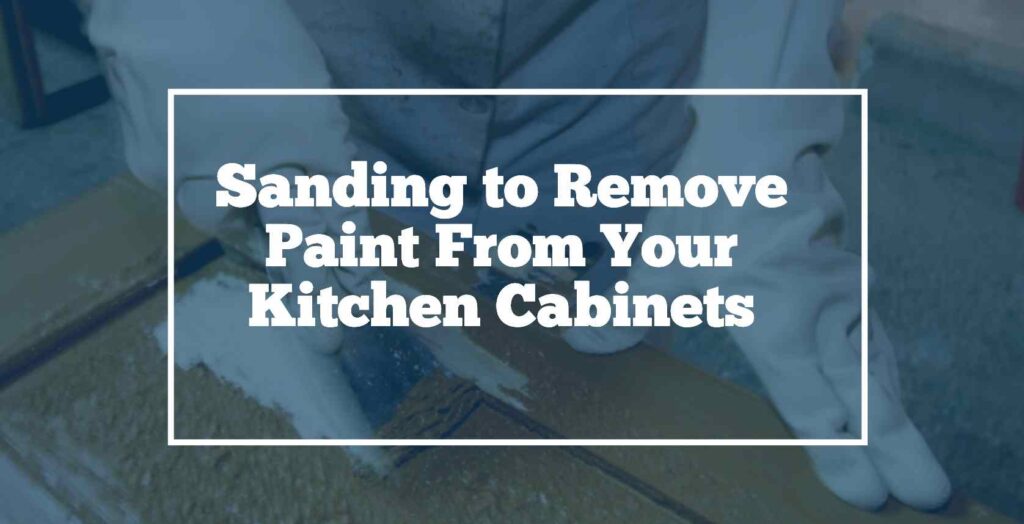
Step 1: Gather Your Supplies
Before you start, make you have all the necessary supplies, including safety gear (gloves, safety goggles, and a mask or respirator), ventilation (open windows or use exhaust fans), drop cloths or plastic sheets to protect surrounding surfaces, various grits of sandpaper (coarse, medium, and fine), a sanding block or power sander, containers for waste disposal, clean rags or paper towels, and a first-aid kit.
Step 2: Prepare the Area
Clear the area around your kitchen cabinets, removing any items that might be in the way. Cover the floor and nearby surfaces with drop cloths or plastic sheets to catch dust and debris.
Step 3: Put on Safety Gear
Safety first. Wear gloves to protect your hands, safety goggles to shield your eyes from flying particles, and a mask or respirator to prevent inhaling dust.
Step 4: Start with Coarse Sandpaper
Begin with coarse-grit sandpaper to remove the top layers of paint. Gently sand the painted surface, working in the direction of the wood grain. Be careful not to apply too much pressure, as it may damage the wood.
Step 5: Progress to Medium Grit
Once you’ve removed most of the paint, switch to medium-grit sandpaper to further smooth the surface. Continue sanding in the direction of the wood grain.
Step 6: Finish with Fine Grit
For a smooth and ready-to-finish surface, use fine-grit sandpaper. This will remove any remaining paint residue and create a clean, even surface.
Step 7: Clean the Surface
After sanding, use clean rags or paper towels to wipe away dust and residue from the cabinets. Ensure the surface is completely clean before proceeding.
Step 8: Dispose of Waste Properly
Dispose of the collected dust and paint residue according to your local regulations, typically by sealing it in a plastic bag and disposing of it in the trash.
Step 9: Final Cleaning and Touch-ups
Once the cabinets are sanded and clean, you can proceed with any desired refinishing, such as staining or repainting. Sanding provides a smooth canvas for a fresh coat of paint or a new finish.
Step 10: Finish and Protect
Apply the chosen finish or paint, following the manufacturer’s instructions. Allow it to dry completely, and consider adding a protective clear coat for durability.
Sanding is an effective method for paint removal, but it can be labor-intensive, so be patient and thorough for the best results. Always prioritize safety by wearing the appropriate gear and maintaining proper ventilation during the sanding process.
Heat Guns to Remove Paint From Your Kitchen Cabinets:
Step 1: Gather Your Supplies
Before you start, make sure you have all the necessary supplies, including a heat gun, safety gear (gloves, safety goggles, and a mask or respirator), ventilation (open windows or use exhaust fans), drop cloths or plastic sheets to protect surrounding surfaces, a paint scraper or putty knife, containers for waste disposal, clean rags or paper towels, and a first-aid kit.
Step 2: Prepare the Area
Clear the area around your kitchen cabinets, removing any items that might get in the way. Cover the floor and nearby surfaces with drop cloths or plastic sheets to catch any loose paint chips or debris.
Step 3: Put on Safety Gear
Wear gloves to protect your hands, safety goggles to shield your eyes from potential splatters or flying paint, and a mask or respirator to prevent inhaling fumes.
Step 4: Use the Heat Gun
Plug in the heat gun and set it to a low to medium heat setting. Hold the heat gun about 2-4 inches away from the painted surface and move it slowly across the area. The heat will soften the paint, causing it to bubble or blister.
Step 5: Scrape Off the Paint
As the paint bubbles and softens, use a paint scraper or putty knife to gently remove it. Work in small sections, being careful not to apply too much pressure to avoid damaging the wood underneath. Collect the removed paint in a container.
Step 6: Repeat as Needed
For stubborn or multiple layers of paint, you may need to repeat the heating and scraping process in the same area or move to the next section.
Step 7: Clean the Surface
After removing the paint, use clean rags or paper towels to wipe down the cabinet surfaces. This will remove any remaining paint residue.
Step 8: Dispose of Waste Properly
Dispose of the collected paint chips and any used rags or paper towels according to your local regulations, often by sealing them in a plastic bag and disposing of them in the trash.
Step 9: Final Cleaning and Touch-ups
Once the cabinets are clean and free of paint, you can proceed with any desired refinishing, such as staining or repainting. Ensure the surface is smooth before applying a new finish.
Step 10: Finish and Protect
Apply the chosen finish or paint, following the manufacturer’s instructions. Allow it to dry completely, and consider adding a protective clear coat for durability.
Using a heat gun is an effective method for paint removal, especially for thick or stubborn paint layers. Always prioritize safety by wearing the appropriate gear and maintaining proper ventilation during the process.
Scrapers to Remove Paint From Your Kitchen Cabinets:
Step 1: Gather Your Supplies
Before you begin, ensure you have all the necessary supplies, including safety gear (gloves, safety goggles, and a mask or respirator), ventilation (open windows or use exhaust fans), drop cloths or plastic sheets to protect surrounding surfaces, various types of paint scrapers (such as flat or curved scrapers), containers for waste disposal, clean rags or paper towels, and a first-aid kit.
Step 2: Prepare the Area
Clear the area around your kitchen cabinets, removing any items that might get in the way. Cover the floor and nearby surfaces with drop cloths or plastic sheets to catch any paint chips or debris.
Step 3: Put on Safety Gear
Safety is crucial. Wear gloves to protect your hands, safety goggles to shield your eyes from flying paint chips, and a mask or respirator to prevent inhaling dust or fumes.
Step 4: Begin Scraping
Start by using the appropriate scraper, Hold the scraper at a slight angle to the painted surface and apply firm but controlled pressure. Begin scraping off the paint in small sections, working in the direction of the wood grain.
Step 5: Collect Removed Paint
As you scrape, collect the removed paint chips and debris in a container. This keeps the work area clean and prevents paint chips from scattering.
Step 6: Repeat as Needed
For stubborn or multiple layers of paint, you may need to repeat the scraping process in the same area or move to the next section.
Step 7: Clean the Surface
After removing the paint, use clean rags or paper towels to wipe down the cabinet surfaces. This will remove any remaining paint residue and dust.
Step 8: Dispose of Waste Properly
Dispose of the collected paint chips and any used rags or paper towels according to your local regulations. Often, you’ll seal them in a plastic bag and dispose of them in the trash.
Step 9: Final Cleaning and Touch-ups
Once the cabinets are clean and free of paint, you can proceed with any desired refinishing, such as staining or repainting. Ensure the surface is smooth before applying a new finish.
Step 10: Finish and Protect
Apply the chosen finish or paint, following the manufacturer’s instructions. Allow it to dry completely, and consider adding a protective clear coat for durability.
Using paint scrapers is an effective method for paint removal, especially for smaller areas or detailed sections.
Aftercare Of Kitchen Cabinets:
After you’ve successfully removed the paint from your kitchen cabinets and applied the desired finish, it’s important to take good care of them to maintain their appearance and durability. Here are some essential aftercare tips:
1. Regular Cleaning: Keep your cabinets clean by wiping them down regularly with a wet cloth or a gentle, non-abrasive cleaner. Avoid harsh chemicals that can damage the finish.
2. Gentle Handling: Treat your cabinets with care. Avoid banging or slamming doors and drawers to prevent dents and scratches.
3. Avoid Excess Moisture: Be cautious about excess moisture, especially in areas around sinks and dishwashers. Wipe up spills promptly to prevent water damage.
4. Use Cabinet Hardware: Install cabinet hardware like knobs or handles to minimize direct contact with the cabinet surfaces, which can help preserve the finish.
5. Avoid Extreme Temperatures: Keep your cabinets away from direct sources of heat, such as stovetops and ovens, as extreme temperatures can damage the finish over time.
6. Inspect for Damage: Periodically inspect your cabinets for any signs of wear, like chipping or peeling paint, and address these issues promptly to prevent further damage.
7. Touch-Up as Needed: Keep touch-up paint or finish on hand for quick repairs if any damage occurs over time.
8. Follow Manufacturer Guidelines: If you used a specific product or finish, follow the manufacturer’s guidelines for maintenance and care.
9. Prevent Fading: Protect your cabinets from prolonged exposure to direct sunlight, as it can cause the finish to fade or discolor.
FAQs
1. Can I use a heat gun to remove paint from kitchen cabinets?
Yes, a heat gun can be used, but it requires attention. Heat guns can generate high temperatures, so follow safety guidelines and be careful not to scorch the wood.
2. Is it safe to remove lead-based paint myself?
Removing lead-based paint can be hazardous. It’s recommended to consult with professionals who have the proper equipment and training for lead paint removal.
3. Can I repaint my cabinets immediately after stripping the paint?
It’s best to wait for the cabinets to dry completely after stripping and sanding before applying new paint or finish.
4. What’s the difference between chemical paint strippers and natural alternatives?
Chemical paint strippers are more potent but can emit fumes. Natural alternatives like soy-based strippers are safer for the environment and have fewer fumes.
5. How long does the entire process of removing paint and refinishing cabinets take?
The duration varies based on the number of layers of paint, drying times, and the complexity of your project. On average, it may take a few days to a week.
Conclusion
Taking off paint from your kitchen cabinets can give them a fresh look. You need to be prepared and safe when you do it. You can use different methods like chemicals, sanding, heat guns, or scrapers. Each method has its benefits. After you remove the paint, make sure to clean up properly and dispose of waste correctly. Then, you can give your cabinets a new finish to make them look great again. It’s a bit of work, but the result is a nicer kitchen that you’ll enjoy for a long time.