Rubber is known for its flexibility and durability, making it a household favorite. But let’s face it, paint accidents happen to the best of us. The real headache is removing that paint without causing any harm to the rubber itself, and that’s where our expertise shines.
Welcome to your go-to guide for easily getting rid of paint from rubber surfaces. Whether it’s a spill accident, a little artistic mishap, or just time for a makeover, we’ve got your back. Say goodbye to those stubborn paint marks while treating your rubber items with care.
Here, in this article, we’re diving into a mix of tried-and-true techniques and some cool new ideas to help you say bye to that unwanted paint on rubber. We’re making this possible with stuff you probably have lying around, as well as some special tools. And don’t worry, we’ve broken it down into simple steps, so whether you’re a DIY newbie or a pro, we’re here to make sure those paint stains no longer stress you out.
Let’s work together to bring out the best in your rubber items and give them a fresh start, paint-free!
Also Check: How To Remove Paint From Vinyl Seats
Understanding the Type Of Paint
When you’re tackling the task of removing paint from rubber surfaces, the first thing to do is figure out what kind of paint you’re dealing with. Not all paints are the same, and understanding the specific type of paint can help you choose the best way to remove it. There are different types of paint out there, like water-based ones, oil-based options, acrylics, and more. Each type has its own characteristics, like how it sticks to surfaces and how it responds to different cleaning products. By figuring out the type of paint, you can adjust your approach and improve the chances of getting rid of the paint effectively, without harming the rubber underneath.
Preparing The Surface
Before you start the journey of removing paint from a rubber surface, it’s important to get the surface ready. This step lays the groundwork for a successful paint removal process. Start by giving the rubber surface a good cleaning with mild soap and water. This will eliminate any dirt, dust, or debris that might hinder the paint removal process. Use a soft cloth or a sponge to gently scrub the area, taking care not to harm or scratch the rubber.
Once the surface is clean, make sure to thoroughly dry it using a clean cloth that won’t leave any scrap behind. Moisture can impact the effectiveness of the paint removal techniques, so having a dry surface is key. After the cleaning and drying, inspect the rubber for any cracks, tears, or weak points. Taking care of these issues beforehand will prevent further damage while you’re removing the paint.
Taking the time to properly prepare the rubber surface not only improves the effectiveness of your chosen paint removal method but also minimizes the risk of unintentional damage to your valuable rubber items.
Method 1: Using Soap and Water to Remove Paint From Rubber
One of the simplest yet effective ways to begin the paint removal process from rubber is by utilizing soap and water. This method is most suitable for water-based paints and fresher paint stains.
Start by mixing a small amount of mild liquid soap with warm water. Dip a clean cloth or sponge into the soapy solution and gently rub the painted area on the rubber surface. Ensure that you don’t apply excessive pressure, which could potentially damage the rubber.
Continue to gently scrub the area until you notice the paint starting to loosen. As you work, periodically rinse the cloth or sponge to prevent transferring paint back onto the rubber.
Once the paint is sufficiently loosened, rinse the rubber surface with clean water to remove any remaining soap residue. Carefully dry the area with a soft, lint-free cloth.
This straightforward method is a great starting point for tackling paint stains on rubber, and it’s a safe approach that won’t harm the rubber’s integrity. Keep in mind that the effectiveness may vary based on the type of paint and the duration it has been on the surface.
Method 2: Using Rubbing Alcohol for Rubber Paint Removal

When dealing with more stubborn paint stains on rubber surfaces, using rubbing alcohol can be a great solution. This method is particularly effective for removing latex or acrylic paints.
To begin, ensure you’re working in a well-ventilated area. Then, gather a clean cloth or cotton ball and dampen it with rubbing alcohol. Gently dab the damp cloth or cotton ball onto the painted area of the rubber surface. The rubbing alcohol works to break down the paint’s bonds, making it easier to remove.
As you dab, you’ll start noticing the paint starting to lift or dissolve. If the paint is resistant, you can lightly rub the area in a circular motion, applying gentle pressure. Be cautious not to oversaturate the rubber or rub too vigorously, as this could damage the surface.
Continue this process until the paint is completely removed. You may need to switch to a fresh cloth or cotton ball if the old one becomes too saturated with paint.
Once the paint is gone, wipe the rubber surface with a wet cloth to remove any residual rubbing alcohol. Thoroughly dry the area with a clean, dry cloth.
Remember that rubbing alcohol can be prominent, so it’s a good idea to test this method on a small, inconspicuous area of the rubber surface first to ensure it doesn’t cause any adverse effects. This technique can be a game-changer for those more stubborn paint stains that refuse to go away.
Method 3: Utilizing Acetone for Effective Paint Removal From Rubber
For removing particularly tough paint stains on rubber surfaces, acetone proves to be a powerful solution. This method is especially effective for removing oil-based paints and older, dried-on paint stains.
Before proceeding, make sure you’re working in a well-ventilated area to avoid inhaling the fumes. Also, wear protective gloves to prevent skin contact with acetone.
To start, wet a clean cloth or cotton ball with a small amount of acetone. Gently rub the cloth onto the painted area of the rubber surface. Acetone’s solvent properties work to break down and dissolve the paint.
As you apply the acetone, you’ll likely observe the paint starting to loosen and lift off the rubber. If the paint is stubborn, you can carefully use a soft brush or toothbrush to use in the removal process.
Once the paint is fully dissolved or lifted, wipe the rubber surface with a clean, damp cloth to remove any remaining acetone. Ensure you rinse thoroughly to prevent any remaining residue.
Afterward, dry the area completely with a soft cloth. This step is crucial to prevent any potential damage caused by prolonged exposure to acetone.
While acetone is effective, keep in mind that it’s a strong chemical and should be used with caution. Test a small area of the rubber surface first to ensure it doesn’t cause any adverse reactions or discoloration. When used correctly, acetone can be your best friend to remove stubborn paint from rubber surfaces.
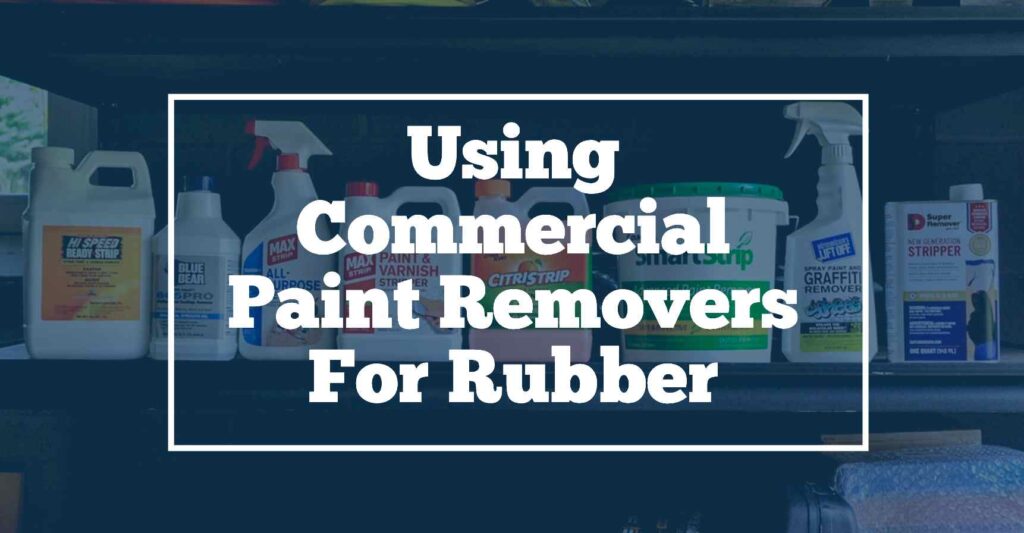
Method 4: Using Commercial Paint Removers For Rubber

When stuck with stubborn paint stains that seem irremovable, turning to commercial paint removers can be a game-changing option. These specialized products are designed to remove a range of paint types and offer effective results on rubber surfaces.
To begin, make sure you’re working in a well-ventilated area to get rid of the effects of fumes. Read and follow the instructions provided on the commercial paint remover’s packaging, as these products can vary in application methods.
Generally, you’ll need to apply the commercial paint remover onto the painted area of the rubber surface. Depending on the product, you might need to brush it on, spray it, or even soak the area. Allow the paint remover to sit for the recommended amount of time, as specified in the instructions.
As the paint remover works its magic, you’ll observe the paint softening and lifting away from the rubber. Employ a soft brush or cloth to gently scrub the area, helping in the removal process.
After the paint has been successfully loosened, use a clean, damp cloth to wipe away the dissolved paint and the remnants of the paint remover. Rinse the rubber surface thoroughly with water to ensure all traces of the paint remover are removed.
To conclude, dry the area meticulously with a soft, dry cloth. This step is important to prevent any potential damage that prolonged exposure to the paint remover might cause.
Commercial paint removers can be highly effective, but they contain strong chemicals. It’s imperative to follow safety precautions, including wearing gloves and eye protection, and to test a discreet area of the rubber surface beforehand to ensure compatibility.
When utilized properly, commercial paint removers provide a robust solution to stubborn paint stains on rubber surfaces, restoring them to their best state.
Also Check: How To Remove Acrylic Paint From Glass
Tips for Removing Paint from Textured Rubber
Dealing with paint on textured rubber surfaces requires a slightly different approach to ensure successful paint removal while preserving the texture. Here are some valuable tips to guide you through the process:
- Gentle Scrubbing: When using any paint removal method, whether it’s soap and water or a commercial paint remover, opt for a gentle scrubbing motion. Harsh scrubbing can potentially damage the texture or even push the paint deeper into the breach.
- Soft Brushes: Utilize soft-bristled brushes, toothbrushes, or even cotton swabs to target the paint in the textured areas. These tools can help you reach into the grooves without harming the rubber’s texture.
- Patience: Removing paint from textured rubber might take a bit more time and effort compared to smoother surfaces. Be patient and persistent, ensuring you cover all the textured areas thoroughly.
- Spot Testing: Before applying any paint removal method, test it on a small, inconspicuous area of the textured rubber to ensure it doesn’t negatively impact the texture or color.
- Avoid Abrasives: Steer clear of abrasive materials or harsh scrubbing pads, as they can scratch or alter the texture of the rubber.
- Rinsing: After using any paint removal method, make sure to rinse the textured rubber surface thoroughly to remove any residue. The residue left behind can impact the appearance and texture of the rubber.
- Drying: After rinsing, ensure the textured rubber surface is completely dry. Moisture trapped in the texture can cause issues like mold or collapse over time.
- Protective Measures: If the textured rubber is part of a larger item (like shoes or a mat), consider masking off the non-painted areas to prevent accidental damage during the paint removal process.
- Repeat as Necessary: Depending on the depth of the texture and the type of paint, you might need to repeat the paint removal process multiple times to ensure complete removal.
- Finishing Touches: After successfully removing the paint, consider using a rubber-friendly conditioner or protector to restore the texture’s appearance and integrity.
By adhering to these tips, you can effectively tackle paint removal from textured rubber surfaces without compromising their unique texture or visual appeal.
Prevention Measures for Future Issues
Taking preventive measures can save you the hassle of dealing with paint stains on rubber surfaces in the future. Here are some practical tips to help you avoid paint mishaps:
- Masking and Covering: When working on painting projects near rubber items, use masking tape, plastic sheets, or drop cloths to shield them from accidental paint splatters.
- Work in Designated Areas: Designate specific areas for painting projects to minimize the risk of paint reaching rubber surfaces unintentionally.
- Protective Clothing: Wear appropriate protective clothing, including gloves and aprons, to prevent accidental paint transfer from your hands or clothing to rubber items.
- Use Painter’s Tape: Apply painter’s tape to rubber surfaces that could potentially be exposed to paint. This provides an extra layer of protection against stray paint.
- Remove Rubber Items: If possible, remove rubber items from the surroundings of painting activities to ensure they remain untouched by paint.
- Covering with Plastic Wrap: For smaller rubber items, consider wrapping them in plastic wrap or plastic bags before starting any painting tasks nearby.
- Mindful Painting: Be conscious of the direction of the paint spray and the distance between the painting surface and nearby rubber items.
- Cleaning Up Promptly: If any accidental paint splatters occur, clean them up immediately using a damp cloth before the paint dries and adheres.
- Workspace Organization: Keep your workspace organized to minimize the chances of knocking over paint containers or brushes onto rubber surfaces.
- Proper Sealing: If painting near rubber surfaces is unavoidable, make sure to seal and cover the rubber items effectively to prevent paint infiltration.
- Plan Ahead: Think ahead before starting any painting project. Evaluate the location of nearby rubber items and take necessary precautions to prevent paint accidents.
By implementing these prevention measures, you can significantly reduce the likelihood of paint mishaps on rubber surfaces. Being proactive and mindful during painting activities will help preserve the pristine look of your rubber items.
Frequently Asked Questions (FAQs)
- Is it safe to use strong chemicals for paint removal on rubber surfaces?
While hard chemicals can remove paint, they might also damage the rubber. It’s wiser to start with milder options like soap and water before considering stronger solutions. - Can a pressure washer be used to strip paint from rubber?
Pressure washers could potentially harm the rubber due to their force. Unless you’re experienced with pressure washers and can control the pressure, it’s best to avoid using them on rubber. - Is scraping paint off rubber advisable?
Scraping paint may scratch the rubber surface. Opt for methods that soften or dissolve the paint to prevent any damage. - Can a hairdryer help in loosening paint for removal?
Yes, using a low heat setting on a hairdryer to gently warm the paint can make it easier to remove using other techniques. - Does vinegar pose a risk to rubber while removing paint?
Vinegar is generally safe for rubber, but its effectiveness against certain paints can vary. Always test a small area before using it extensively. - Is it possible to repaint a rubber surface after removing old paint?
Absolutely, you can repaint the rubber surface after successfully removing old paint. Ensure the area is clean, dry, and properly prepped before applying new paint.
Conclusion:
As we conclude your journey through paint removal from rubber surfaces, you’ve got knowledge of effective techniques and handy tips. From basic soap-and-water methods to the focused use of rubbing alcohol and commercial paint removers, you’re ready to handle various paint types and rubber textures.
Don’t forget to prevent future mishaps by taking proactive measures. Shield your rubber treasures from future paint incidents. And when those inevitable spills do occur, you now possess the skills to tackle them calmly and effectively.

