
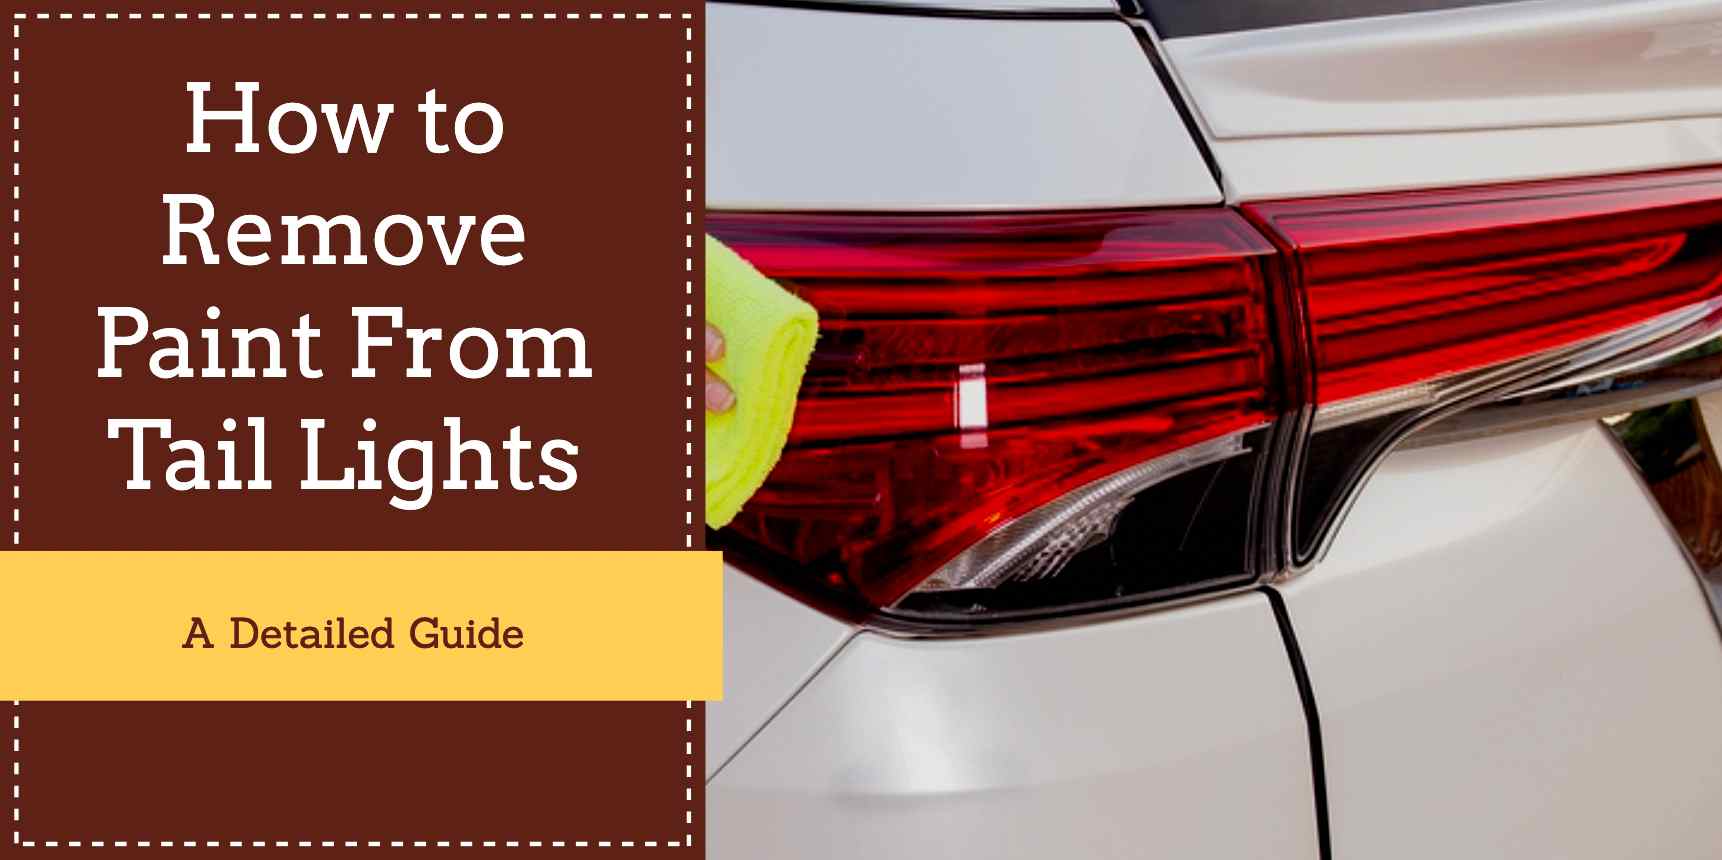
If you’ve got accidental paint splatters, faded looks, or just want a new style for your car tail lights, you’re in the right place. Tail lights are super important for safety and looks, so paint troubles can be annoying. But don’t worry! In this article, we’ll explore how to get rid of that paint and make your tail lights look great again.
We’ll talk about different ways to remove paint, like scraping it off, using heat, or using special chemicals. We’ll give you step-by-step instructions to make it easy. Safety is really important, so we’ll tell you how to stay safe while you work. By the end of this guide, you’ll know what to do and feel ready to make your tail lights awesome again.
Every car is different, and so are tail lights. They can be made of different stuff like plastic or glass, so we’ll show you the right way to remove paint for each type. So, whether you’re a car DIY fan or just want your car to look good again, get ready to learn how to remove paint from tail lights, step by step. Let’s get started!
Also Read: How to Remove Paint From Car Rims
Getting the Stuff You Need to Remove Paint
Before you start working on your tail lights, gather all the things you’ll need. Here’s what you should have:
- Protective Gear: Get safety gloves and safety glasses to keep your hands and eyes safe.
- Scraper or Putty Knife: Find a flat tool to help you scrape off the paint. It could be a scraper or a putty knife.
- Heat Gun or Hairdryer: If you’re using heat to remove paint, get a heat gun or a hairdryer.
- Chemical Paint Remover: If you’re using chemicals, get the paint remover that’s safe for your tail lights.
- Rubbing Alcohol: If you’re using rubbing alcohol, make sure you have some on hand.
- Clean Cloth: You’ll need a clean cloth to wipe things.
- Soft Scrubbing Pad: This can come in handy for some methods.
- Newspapers or Plastic Sheets: Cover the area where you’ll work to catch any mess.
- Ventilation: Work in a place with fresh air, like outdoors or by an open window.
- Patience: Paint removal might take some time, so be patient.
Having these things ready will make the process easier. Stay safe, and let’s get those tail lights looking awesome again!
Figuring Out What Your Tail Lights Are Made Of
Before you start, it’s important to know what your tail lights are made of. Different taillights need different paint removal methods. Here’s how to figure it out:
- Check for Clues: Look closely at your tail lights. Sometimes, there are markings or labels that tell you what material they are – like “plastic” or “glass.”
- Gentle Scratch Test: If you’re not sure, try a gentle scratch test. Use something small and not too sharp to scratch a hidden part of the tail light. If it doesn’t leave a mark, it might be glass. If it does leave a mark, it’s likely plastic.
- Research Your Car Model: Sometimes, you can find out what kind of tail lights your car has online or in your car’s manual.
Knowing what your tail lights are made of helps you pick the right way to remove the paint without causing any damage.
Checking What Kind of Paint You’re Going To Remove
Before you start the paint removal process, it’s good to know what type of paint is on your tail lights. Different paints need different methods to remove them. Here’s how to check:
- Look Closely: Take a close look at the paint on your tail lights. Is it thick or thin? Is it matte or shiny? These clues can help you guess the type of paint.
- Test a Hidden Spot: Try a test on a small, hidden area. Use a bit of rubbing alcohol on a cotton ball. If the paint comes off, it might be water-based. If it doesn’t, it could be something tougher.
- Check the Label: Sometimes, paint cans have info about the type of paint. If you have the paint can, check it out.
Knowing the type of paint helps you choose the right way to remove it.
Different Ways to Remove Paint from Tail Lights
When it comes to removing unwanted paint on your tail lights, you’ve got different options. Let’s take a look at some methods you can try:
- Scraping: Gently scraping off the paint with a scraper or putty knife can work, especially if the paint is loose.
- Using Heat: Applying heat using a heat gun or hairdryer can soften the paint, making it easier to remove.
- Chemical Paint Removers: Special paint removers can help dissolve the paint – just be sure to choose one safe for your tail light material.
- Rubbing Alcohol: Rubbing alcohol might help break down the paint. Use a cloth soaked in rubbing alcohol to gently rub the painted area.
- Soapy Water and Scrubbing: For water-based paints, using soapy water and a soft scrubbing pad can help loosen the paint.
Step-by-Step Guide to Scraping Paint off Tail Lights
If you’re going for the scraping method to remove paint from your tail lights, follow these steps for a smooth process:
- Gather Your Tools: Get your safety gloves, safety glasses, a scraper or putty knife, and a clean cloth.
- Safety First: Put on your safety gear to protect your hands and eyes from any paint chips.
- Prepare the Area: Work in a well-ventilated spot and cover the area beneath your tail lights with plastic or newspaper to catch any falling bits.
- Test a Small Area: Before you remove paint from the whole tail light, try scraping a small hidden area to see how the plastic reacts.
- Start Scraping: Hold the scraper at a slight angle and gently start scraping the paint off the tail light. Don’t push too hard to avoid damaging the plastic.
- Smooth Movements: Move the scraper in smooth motions to lift the paint. If the paint is stubborn, you might need to use a bit more pressure but be careful.
- Clean As You Go: As you scrape, use a clean cloth to wipe away the paint bits that come off.
- Work in Sections: If the paint covers a larger area, work in small sections. Take your time – there’s no need to do it fast.
- Wipe and Inspect: Once you’ve removed the paint, wipe down the tail light with a wet cloth to remove any leftover paint dust. Then, take a look to make sure the paint is gone.
Scraping can be effective, but make sure you’re patient and careful to avoid any scratches on your tail lights.
Also Read: How To Remove Paint From Wood
Using Heat to Remove Paint from Tail Lights
If you’re opting for the heat method to get rid of paint from your tail lights, here’s how you can do it:
- Gather Your Tools: Collect your safety gloves, safety glasses, a heat gun or hairdryer, and a clean cloth.
- Safety Gear On: Put on your safety gear to protect your hands and eyes.
- Prep the Area: Work in a well-ventilated space and place plastic or newspaper underneath your tail lights to catch any paint scrap.
- Start with Low Heat: If your heat gun has settings, begin with the lowest heat setting. Hold it about 6 to 8 inches away from the painted area.
- Apply Heat: Aim the heat at the painted area and move the heat gun or hairdryer back and forth. The heat will soften the paint, making it easier to remove.
- Test and Scrape: After a minute or two, test a small section by gently scraping it with a scraper or putty knife. If the paint lifts easily, you’re on the right track.
- Gradually Increase Heat: If needed, slightly increase the heat and keep testing and scraping small sections. Go slow – there’s no rush.
- Clean as You Go: Keep a cloth handy to wipe away the softened paint as you scrape.
- Avoid Overheating: Be cautious not to overheat the plastic, as it could melt. Keep the heat gun or hairdryer moving and don’t stay in one spot for too long.
- Final Clean-up: Once you’ve removed the paint, use a damp cloth to clean the tail light surface and get rid of any leftover paint bits.
Using Chemical Paint Removers for Tail Light Paint Removal
If you’re considering using chemical paint removers to get rid of paint from your tail lights, here’s a way to do it:
- Collect Your Stuff: Get your safety gloves, safety glasses, a chemical paint remover that’s safe for your tail light material, a clean cloth, and some ventilation.
- Safety First: Put on your safety gear to keep your hands and eyes safe.
- Prepare the Area: Work in a place with good airflow. Cover the area below your tail lights with plastic or newspaper to catch any drips.
- Test a Small Area: Before you cover the whole tail light, try the paint remover on a small hidden spot to make sure it’s safe for your tail light material.
- Apply the Remover: Use a brush to put a thick layer of the paint remover on the painted area. Follow the instructions on the product.
- Wait a Bit: Give the remover some time to work its magic. Follow the time mentioned on the product label.
- Scrape the Paint: After waiting, use a scraper or putty knife to gently scrape off the softened paint. It should come off without too much effort.
- Clean the Surface: Use a clean cloth or sponge soaked in soapy water to wipe down the tail light and remove any leftover paint remover.
- Final Rinse: Rinse the tail light with clean water to make sure all the paint remover is gone.
- Dispose Safely: Remember to dispose of any used materials and leftover paint remover properly.
Using Rubbing Alcohol to Remove Tail Light Paint
If you’re thinking about using rubbing alcohol to take off paint from your tail lights, here’s how you can do it:
- Get Your Stuff: Grab some rubbing alcohol, safety gloves, safety glasses, a clean cloth, and a well-ventilated area.
- Safety First: Put on your safety gear to keep yourself safe.
- Prep the Area: Work in a space with good air circulation. Lay down plastic or newspaper to catch any paint bits.
- Dampen the Cloth: Dip a cloth in rubbing alcohol – not too wet, just damp.
- Gentle Rubbing: Use the damp cloth to gently rub the painted area on your tail light. You can also use a soft scrubbing pad if needed.
- Be Patient: Keep rubbing gently until you see the paint starting to come off. It might take a bit of time, so don’t rush.
- Wipe Away Paint: As the paint comes off, use a clean part of the cloth to wipe it away.
- Clean the Surface: After you’ve removed the paint, use a wet cloth to wipe down the tail light and get rid of any remaining paint bits.
- Final Rinse: Rinse the tail light with clean water to make sure all the rubbing alcohol is gone.
- Inspect and Enjoy: Let the tail light dry and check if all the paint is gone. Once it’s clean, you’re good to go!
Using Soapy Water and Scrubbing to Remove Tail Light Paint
If you’re considering the soapy water and scrubbing method to get rid of paint from your tail lights, here’s how you can do it:
- Get Your Supplies: Gather your safety gloves, safety glasses, a soft scrubbing pad, a bucket of soapy water, and a clean cloth.
- Safety First: Put on your safety gear to keep yourself protected.
- Prep the Area: Work in a spot with good ventilation. Lay down plastic or newspaper underneath your tail lights to catch any mess.
- Dampen the Scrubbing Pad: Dip the scrubbing pad in the soapy water until it’s wet.
- Gentle Scrubbing: Gently scrub the painted area on your tail light using the damp pad. Use circular motions and don’t press too hard.
- Repeat if Needed: If the paint doesn’t come off easily, you can try scrubbing a bit more. But be gentle – you don’t want to damage the tail light.
- Wipe Away Paint: As the paint comes off, use a clean cloth to wipe it away.
- Clean the Surface: After the paint is gone, use a clean cloth soaked in plain water to wipe down the tail light and remove any soapy residue.
- Final Check: Let the tail light dry and inspect if the paint is completely gone.
- Enjoy the Clean Look: Once you’re satisfied, you’re all set – your tail light should look much better now!
Frequently Asked Questions (FAQs)
- Q: Can I use any paint removal method on all types of tail lights?
A: Tail lights come in various materials like plastic and glass. Different methods suit different types. We’ll guide you on the right approach for your tail lights. - Q: Is it safe to use a heat gun on plastic tail lights?
A: Heat guns can work well, but safety is key. Use low heat settings and keep moving the gun to avoid damage. It’s best for glass tail lights. - Q: Are chemical paint removers harmful to the environment?
A: Some paint removers can be harsh, so choose eco-friendly options if possible. Always follow disposal guidelines to minimize environmental impact. - Q: Can I repaint my tail lights after removing the paint?
A: Yes, you can. After proper paint removal, clean the surface thoroughly before repainting. Ensure you use paint suitable for your tail light material. - Q: Is professional help necessary for paint removal?
A: While DIY methods are effective, seeking professional help ensures precision and safety, especially for intricate tail light designs.
Conclusion:
Remember that fixing your tail lights isn’t just about getting rid of the paint. It’s about making them shine again. In this guide, we talked about different ways to do that – from gentle scraping to using heat or special chemicals. Each way has its own charm and can make your tail lights look great again.
Safety is important too. Following the rules keeps you safe while you work on your tail lights.